

One of the biggest hurdles for beginner animators, new to Reallusion's Cartoon Animator Studio, is learning how to rig their own character designs from scratch.
While Reallusion has worked very hard to make the process easier it still can seem complex and overwhelming, particularly now that CA's flagship, G3-360 character rigs are being adapted to work with live motion capture and pre-animated 3D motion files.
While Reallusion has worked very hard to make the process easier it still can seem complex and overwhelming, particularly now that CA's flagship, G3-360 character rigs are being adapted to work with live motion capture and pre-animated 3D motion files.
Fortunately, by combining some of CA4's newest features (G3-360 body rigs and Bone hands) with one of its oldest (Morph-based heads), newcomers can get into animating their own character quickly and easily.
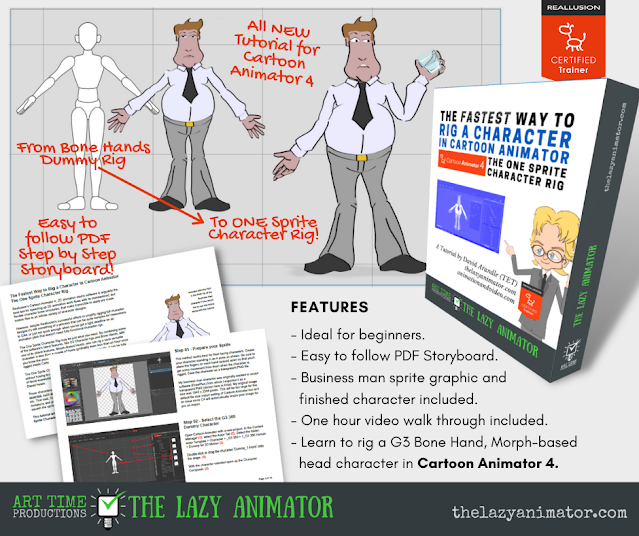
The Lazy Animator tutorial, The Fastest Way to Rig a Character in Cartoon Animator, uses just one custom character sprite, and takes, around an hour or so (once you're familiar with the process) to rig a relatively simple, but still quite versatile character.
The course is presented as a 19 page PDF document, with just two steps per page and clear diagrammatic screen shots that are far easier to follow along with than any video tutorial you've seen ever - no pausing and rewinding because you've missed a step here.
 |
| An example page from the PDF Tutorial document. |
Also included is a transparent PNG of my original business man character that I use in the tutorial so you can follow along exactly with the process. As well you get the finished Cartoon Animator ctBTactor file of the business man character that I created that you can just drag onto the stage in your copy of Cartoon Animator 4 and see in action.
If that wasn't enough, you get a demonstration animated video of my business man character in action, and a video walk through of me going through the steps of the tutorial in just over an hour - proving that this method is as fast as I say it is.
What's more you get all of this for just USD$14.99. Which I believe is excellent value considering you get both a video walk through and a formatted PDF document, along with an original character you can use and adapt in your own projects.
Keep in mind the one sprite character rig is a greatly simplified rig that works best with front facing character designs. It does come with some fairly serious limitations like limbs not being able to cross in front of each other, and bendy, rubber band style arms and legs. However, it is a quick and easy entry point into designing your own characters from scratch for Cartoon Animator.
If you would like to upgrade your one sprite character rig to overcome its limitations and to convert the head into a G3 sprite based head or G3-360 head (which gives your character greater head turning range) I have two more tutorials available:

(If you're interested in buying all three tutorials I would recommend buying directly from my store where you can purchase them as a bundle).
If you try the One Sprite tutorial I would appreciate your feedback either in the comments below (or you may like to leave a rating in Art Time's Gumroad Store. While you're there check out my other animation tutorials and resources too.
"I just finished the first tutorial "Fastest way to rig a character". One word "AWESOME". One of the best tutorials I've seen. I like having BOTH Tutorials Video and PDF. I really liked the pace of the video tutorial as it was thorough and very educational. Thank you for not using sped up segments of video. I enjoyed the experience as you went through the process. I followed every step in the video! I've learned lots of new things about CA4 tools functionality. Thank you!!!" - Zeus Greek